SEARCH


|
|
|
|


by Editor Peter Walmsley
As a serious travel photographer, how often do you turn up in a location, expect to get some great shots and come away disappointed? As serious travel photographers, we know to do our homework: to research the places we’re going to visit beforehand and have in mind a series of shots we want to try. And for sure this pre-visualisation of the images we want to capture can make a huge improvement to our photography; save a lot of time avoiding the standard locations; avoiding the locations which have already been covered, which are inaccessible or simply don’t work as well as giving a sense of purpose to the visit; and generating new ideas.
What is pre-visualisation?
Ansel Adams is often quoted as saying “Visualization is the single most important factor in photography” and considers that the creation of a photograph follows four major steps (See Refs. 1 and 2):
Pre-visualisation in practice
At one level, the need or desire to photograph something may seem obvious, but I find it helpful to drill down to something specific. If it is travel photography, it generally starts with an image I have in my mind about a place: in Venice: it is gondoliers in straw hats and stripy shirts guiding romantic couples through narrow waterways at dusk; in Washington, it is the Capitol building at night; in Cambodia, it is the Angkor Wat temple complex; India starts with the Taj Mahal but then moves on to bustling street scenes with women in colourful saris. But these are just start points: the motivation for going.
I start the discovery phase with some research. Initially, I just look on the internet and see what others have done. That doesn’t take long as there are a lot of photographs out there, but mostly snapshots. I then move on to sites owned by other photographers and for travel, I have a few favourites, including 1x. These usually provide ideas and some clues on location and best time of day etc. From that information, I then usually compile a more detailed itinerary and shoot list, but this is still only the start point.
For the next stage, you’ve got to go there and see it and feel it for yourself. I get to the locations I’ve planned and check to see if the image in my head can work in practice. This is not about trying to force fit the elements I see in front of me into my pre-conception. That can only lead to disappointment particularly in tourist-filled iconic locations where I tend to find least inspiration and success.
As far as the itinerary allows, I spend time looking around and taking some ‘test’ shots. What are the local compositional elements that will contribute to the story? Does the scene need people and therefore do I need to choose my stage and wait for the right actors to appear? This is where holiday schedules and good photography can diverge. Good imagery needs time and often more than one visit to the same location. Fellow travellers may not have the same interest, so it’s a juggle and getting up at 4am for a blue-hour morning shot whilst everyone else is still in bed, is part of what we do.
The last part, execution may seem the easy bit. I try to go over my settings and equipment choices at least the day before a shoot both in my mind and as a physical check. For street photography and landscapes, I find that lens choice is determined as much by depth of field required and light availability as by field of view. And I know that at around 50mm focal length or less, reliable, good quality shots in low light need a hand-held shutter speed higher than 1/10s, even if I occasionally succeed at 1/2s. I also know that plain white clouds with no detail always look bland and that blue skies with a wide-angle are going to vary in saturation across the image. And I can see where post processing can pull out shadow detail and increase contrast in highlight detail.
Example
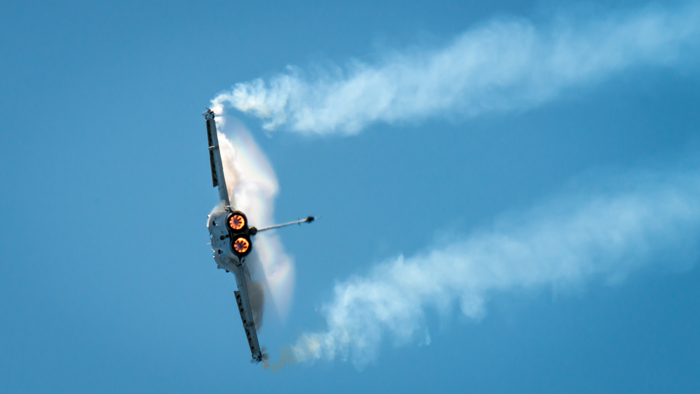
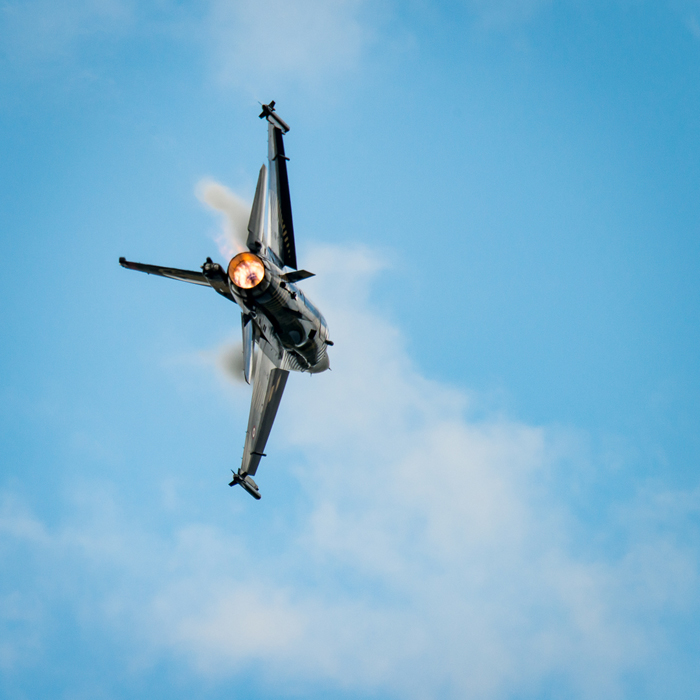
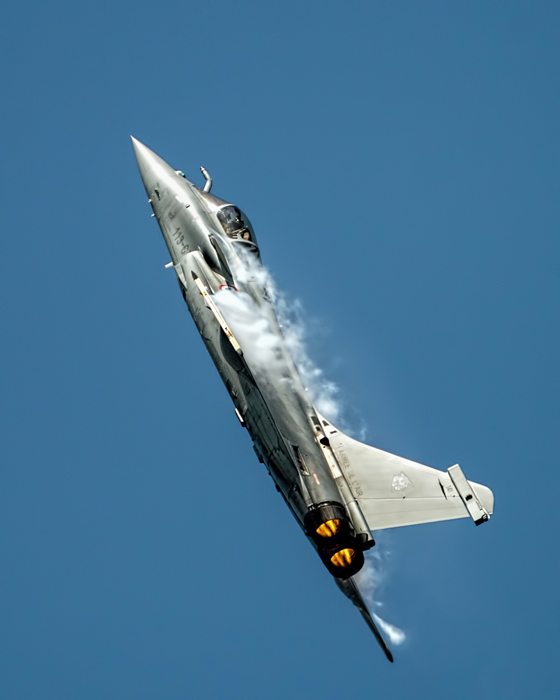
Normally at this point I would look through the 1x gallery for good examples of the pre-visualisation process in practice. But as I cannot know what the 1x photographers had in mind, I can only offer an example of my own. This image, titled ‘Reheat’ has recently been published on 1x.
This image took about 3 years to create. Following the 4 steps:


To overcome the lack of light, I had to move to a more expensive solution and used the large Nikon 600mm f4 lens with the 1.4x teleconverter to give 840mm focal length at f8 and (on this occasion) ISO640. A one and a half stop improvement may not sound much but it made all the difference in keeping the shutter speed up at a low enough ISO. Practice with panning and single-shot autofocus setting complete the technique together with several attempts at each pass. The chance of getting both a damp day and blue skies was increased by attending the show on multiple days.
In this example, my post processing increases the amount of detail captured, not just in the plane itself but in the wig-tip smoke. Some local burning of shadow areas add a little more directional lighting from the left and, as I didn’t have the luxury of a blue sky, application of a split blue-yellow colour temperature grad top and bottom. I still would have liked a little more visibility of the cockpit, but I’m happy for now.
References:
The Ansel Adams Gallery:
http://anseladams.com/the-key-to-a-photograph-from-ansel-adams/
http://www.grahamclarkphoto.com/how-to-pre-visualize-a-photograph-like-ansel-adams/
 | Write |
 | Miro Susta CREW Very interesting & educative article. Thanks Peter and Yvette as well..... |
 | Yvette Depaepe CREW Most interesting article, Peter! Thanksf for sharing with the 1x community. Cheers, Yvette |
 | Massimo Della Latta Splendid |