SEARCH


|
|
|
|


by Gus
Gus is a Spanish amateur photographer for more than 20 years living on the island of Mallorca.
He loves to experiment with almost all styles going from macro to landscape, urban to panoramas. He never stops improving his skills when it comes to edit and process his images. He really likes to let his imagination flow creating impossible scenes. He admires a lot of photographers and many of them are here on 1X. For him, it was a big revelation to discover our site in 2017. It means so much because he wants to continue studying and trying to improve his passion for photography.
When his image “Daisies” was recently published, many members asked him to explain how he got this amazing result.
He was so kind to write about the making of his “Daisies” on your demand ;-)
Here it is...
Very often, I go out to the garden to play with my daughter. I always take my camera to take some sweet memories but I don't ever miss the opportunity to photograph things that catch my eye neather. Spring helps a lot of course. The flowers and their lovely colors. This time, the daisies were no exception.
This is the original photo I chose to process among many others.
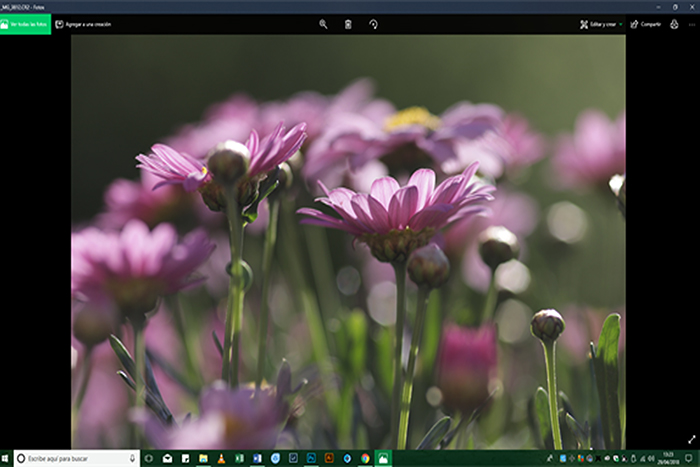
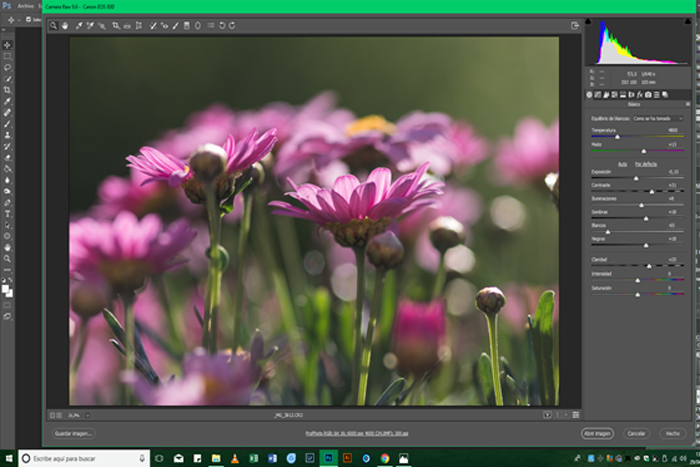
The photo was processed in Adobe Camera Raw and Photoshop CC 2017
The first adjustments I made were done in Camera RAW, I changed the contrasts, whites and blacks a bit, trying to give more prominence to the main Daisy.
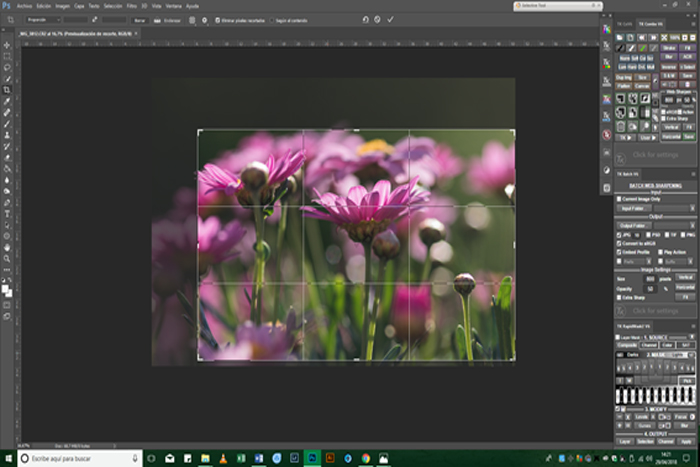
Then I went to Photoshop. I put the dimensions on 6000x4000 px as I usually do for all my photos and cropped the image to put the main Daisy in the centre.
Through the panel TKV6 I adjusted different aspects of the image to my own taste. Working on shadows and lights, always to give prominence to the central flower. I don't remember the exact parameters. Just leave it to your feeling to add a personal touch.
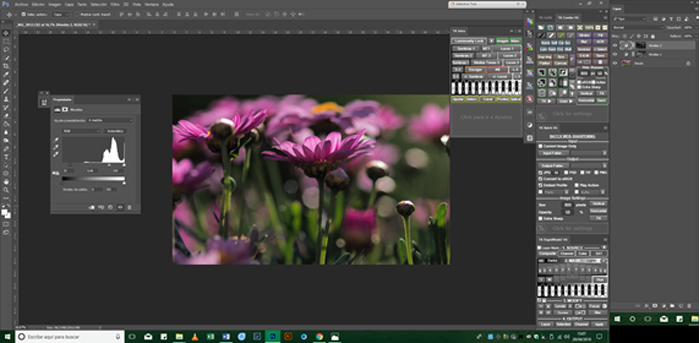
When the photo satisfied me in all aspects I decided to create or imagine a special effect. I wanted to give it the look of an oil painting with a diffuse background and more sharpness on the Daisy in the centre.
To do this, I had several options.
I could do it with a tablet using the brush tool which I do often but it takes a lot of time.
I could use the oil painting filter available in Photoshop.
But the fastest way with many adjustment options is tu use the Topaz filters.
First I merged all layers and duplicate it and opened the Topaz filter in the "copy layer".
I was looking for a painterly effect and choose the "Impressionism" one. Using the options I changed/adjusted some values to my taste till I got the result I was looking for. Sometimes this processing can take a fair bit of time but it is really worth the effort.
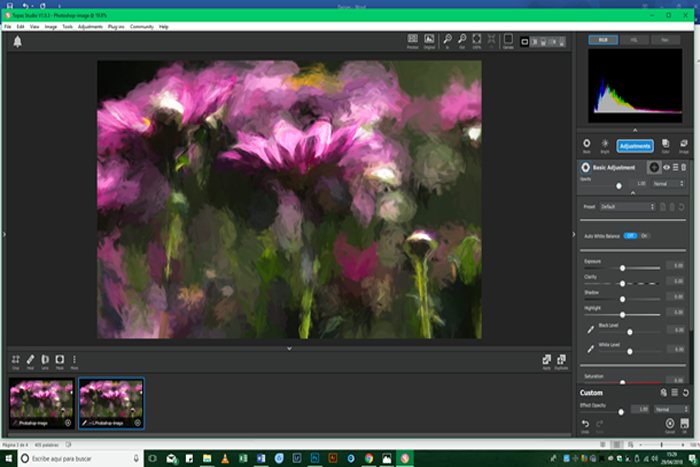
In this panel, you can see the multiple options available to get to a satisfying result.
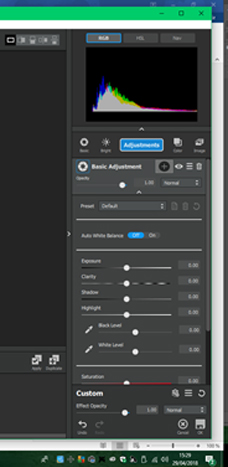
Finally, when the result I had in mind was obtained, I returned to Photoshop using once more the TKV6 panel to adapted the luminosity and other values to the areas I wanted to highlight.
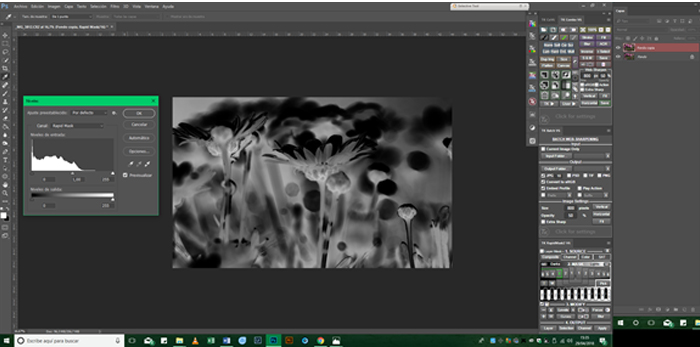
To complete the final processing, merge all layers.
I hope you found this little tutorial useful.
Enjoy and create your own beautiful images.
Gus
Congratulations for this great article and for your magnificent work! a hug Gus